How to Bake Sourdough (Video included)
Most people go to stores to buy bread, but it is so much more delicious if you make it yourself. Making homemade sourdough is a little time-consuming but I promise it is extremely rewarding. People are intimidated by the many steps involved in making sourdough bread, but it is so rewarding. Here I will share the process of how I have been making sourdough bread from the same starter over and over again. Sourdough is different from regular bread because you ferment the dough. This is what gives the bread its soft, fluffy, and chewy texture on the inside and hard crust on the outside. Sourdough bread can be made with adding only 3 simple ingredients that most people already have at home once they have a starter. Sourdough is simple to make but requires a lot of time. I’m telling you though, it’s gonna be worth it.
How to Make Sourdough Instructional Video
What is a Sourdough Starter?
In order to make sourdough bread you need to have a sourdough starter. Another name for a sourdough starter is the “Mother Dough”. If you know a friend who makes sourdough bread ask for a starter and you can skip this step. If not, then let’s get right to it. To make your sourdough starter from scratch you will need: one package of active dry yeast (.25) oz, 2 cups all-purpose flour, and 2 cups warm water. Mix all ingredients in a non-metallic bowl and cover with plastic wrap or a kitchen towel. Set aside in a warm place to ferment. This will take about 4-8 days. If it has a weird color tinge to it throw it out and try again. It should look off-white in color. Feed daily until yeast culture is active.
You can also purchase a live sourdough starter from Amazon for less than $10 shipped. Remember, this starter is all you need to make bread indefinitely from just adding flour, salt, and water. If you are not gifted a starter or cannot find someone selling one locally, this is a great value!
Because many people use the same mother dough for months, years, or in some cases decades, they get attached enough to give it a name. All the sourdough starters I have gifted have been babies of my Mother Dough who I named “The Greatest Doughman”.
You may be wondering, “how and what do you feed a sourdough starter?” “How do I know when the yeast is active?” First of all what do I mean by feeding? When you feed a sourdough starter you are feeding the yeast which is live bacteria and causing it to grow. To feed a sourdough starter simply add scant one cup bread flour and one half cup water. (in baking scant means “slightly less” so use a little less than one cup) Mix well and set aside. You will want to put in a warm place like a pantry because yeast likes a warm environment. However, make sure that it is out of direct sunlight. After 12 hours, feed it again. At this point you probably will need to transfer it into a bowl because it will have grown and probably will overflow if you don’t. Your sourdough starter will gradually become more and more bubbly. Once the surface is completely covered in bubbles, you can test it to see if it is airy enough. To do this, do the float test. To do the float test, just take a little bit of the mixture and drop it into a glass of water. If it immediately sinks, feed it and try again in a couple of days. If it floats and then sinks, then feed it and try the next day. If it floats and stays floating, the sourdough starter is ready to bake.
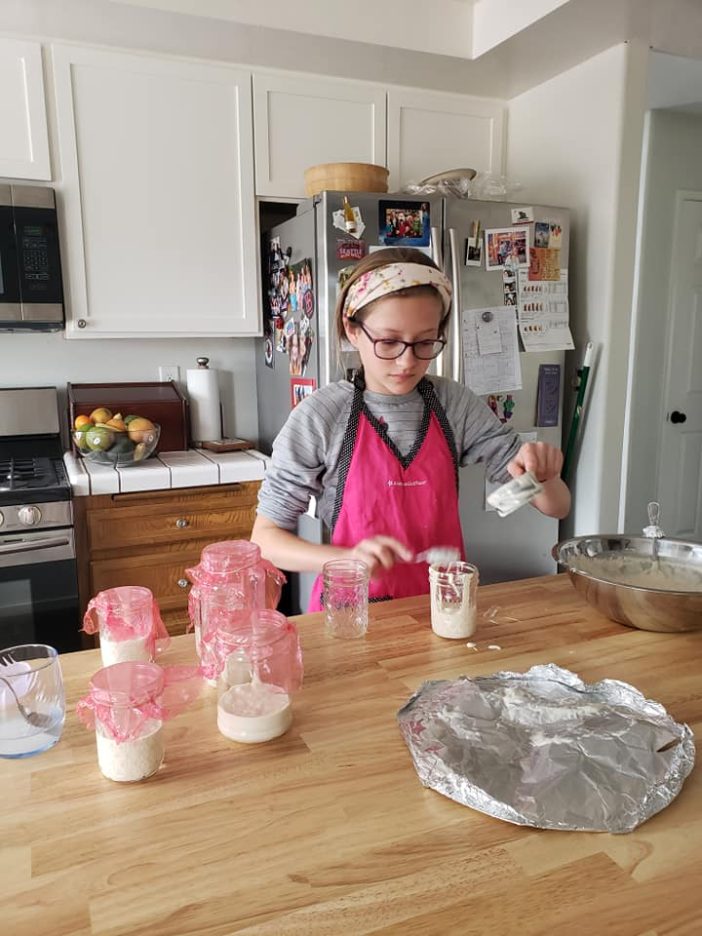
Since you only need ½ cup of starter to use in the recipe, the rest becomes new starters. Just add ½ cup of starter into a jar, cover with plastic wrap and secure with a rubber band. Then repeat with the rest of the mixture until you have about ½ cup remaining in the bowl. This is what you will use in the recipe. Save one of the starters for yourself and begin feeding it to make another loaf. Then, give the rest to friends so they can make bread and give starters to their friends. Sourdough is like the chain letter of baking. Now that you’ve got your baking starter let’s make the flavoring for the dough.
Now, for the flavoring for the bread. In sourdough, flavoring is stupid easy. First, mix ¼ cup of water and 1 tbsp of salt in a cup and stir vigorously. The more salt is absorbed the more evenly distributed the flavoring in the bread. I like to stir every couple minutes. It’s ok if it is not completely absorbed but you want as much absorbed as possible. That’s it, you can now set the flavoring aside and begin the actual dough.
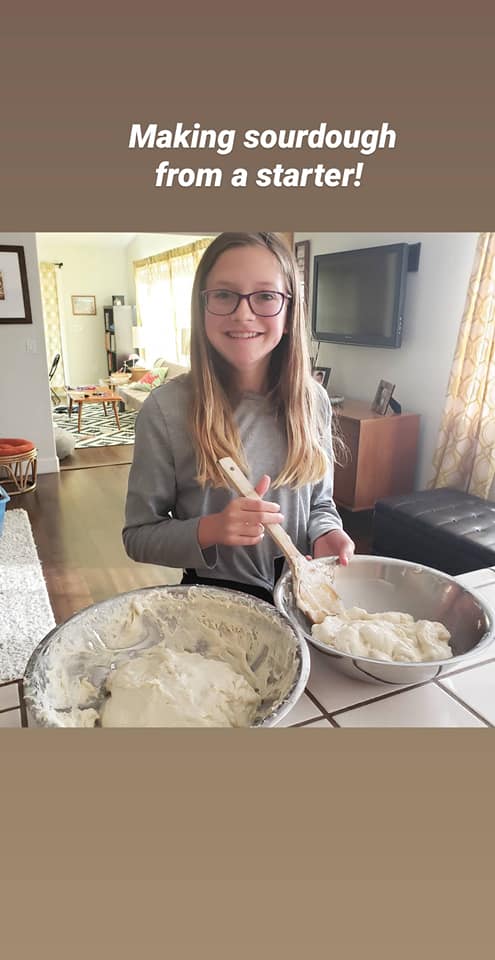
To make the dough, add 2 ¼ cups of water to the starter. It will look like watery milk with white bits floating in it. Then measure out 5 ½ cups of bread flour. You can substitute all- purpose flour but it will give you a flatter, less fluffy result. Dump about a third of the flour into the starter/water mix and stir it up. Then add the rest of the flour to the bowl and fold in with a rubber spatula. This forms a shaggy dough. Once there aren’t any visible bits of flour, cover with a kitchen towel and rest for 30 minutes to 4 hours. Once that’s done add the flavoring mixture to dough and fold it into the dough. The dough will visibly smooth out and become quite wet. Once this is complete you can fold the dough.
Folding the dough is very simple, just flour it and pull up the edge opposite of you and tuck it under the edge nearest to you. Then, rotate the bowl 90 degrees and repeat. Do this about 4-6 times and then cover with a kitchen towel and rest 30 minutes. Then repeat 5 more times. This will take you a total of 2 ½ hours. Once that is finished let rise for 30-60 minutes. Next we will divide the dough into two loads then we will let it rest for 20-30 minutes.
Then transfer to proofing baskets. If you don’t have these a bowl will work fine. Take a clean kitchen towel and flour it generously. Be sure to rub the flour into the fabric. Then put the towel into the bowl flour side up and put one of the balls of dough into it. Then make another proofing basket by doing the same thing and put the other dough ball in it. Finally to complete the proofing process, cover with plastic wrap and refrigerate overnight.
Homemade Hummus Without Tahini is a perfect dip for your sourdough bread!
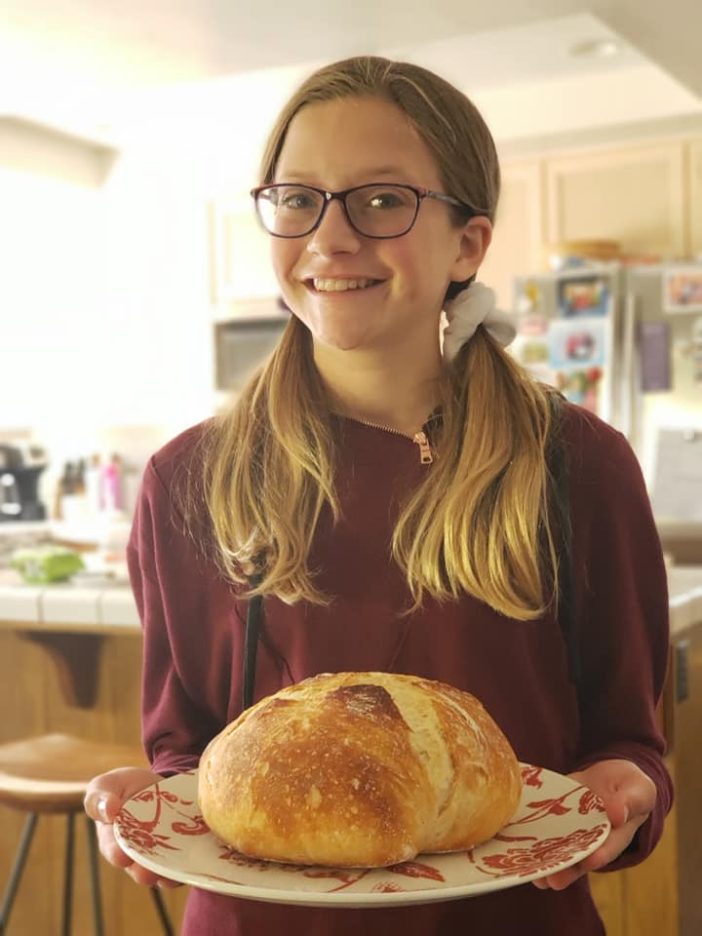
The next morning it is time to bake your bread. Preheat the oven to 500 degrees Fahrenheit. Meanwhile, heavily flour the bottom of dutch ovens or heavy bottomed pans. Then tip the dough ball into the pan and score an X or any other pattern you like onto the top of it. Bake covered by a lid for 20 minutes. Then, reduce the temperature to 450 degrees fahrenheit and bake for an additional 10 minutes. Then remove the lid and bake for another 15-25 minutes. After that time is up check the loafs, they should be nice and golden brown. Bake for another 15-25 minutes and you want them to appear just short of burnt. (A nice medium-dark brown) Then all that’s left to do is to cool, slice, and enjoy!
A big thank you to my daughter J for writing most of this informative step by step instructional guide for baking sourdough bread from home. An even bigger thanks to her for keeping our home smelling like a bakery nearly every day. Please be sure to check out her upcoming recipes of other delicious treats she makes her sourdough starter.


[…] Don’t miss our Step by step sourdough bread recipe! […]
Best step by step video on how to make sourdough!! My bread turned out amazing thanks to J!
Thank you! She will so appreciate you saying so!